Thursday 28 February 2019

Take a Stitch Tuesday (TAST) week 5 for 2019

Yikes!  I am already playing catch up!  I was pretty sick yesturday, so thought today after work I would sit, have some 911 tea for colds, relax and do a few stitches to catch up.

A short intro -- Look what I started......  I have been gearing up to do a true crazy quilt with fancy stitches, lace, ribbons, beads and all.  I've wanted to do one for many years, however didn't feel I have the skills to execute it, so........

I have taken up the TAST and Beyond TAST Challenge, which is an online group.  The event is called "Take a  Stitch Tuesday" (TAST) and can be found at  Add the link.   The moderator/hostess is Sharon Boggon.  Sharon is an expert needleworker and the author of her new book called Visual Guide to Crazy Quilting.

There will basically be two stitches each week, for fifty-two weeks.  One from each challenge.  The first one "TAST" is for beginners and the second one, "Beyond TAST" is for those who have some experience. Check out her site for all of the details.

TAST for week 5 - https://pintangle.com/2019/01/29/tast-week-5/


The stitch for week 5 of TAST is the feather stitch  https://pintangle.com/2012/01/16/take-a-stitch-tuesday-week-3/ , my version is the gold stitches in the picture above.  i see this stitch used often in crazy quilts, mostly to resemble stems of a branch with flowers or beads often added to each end.


The stitch for Beyond TAST is the  feather and chain stitch.  https://pintangle.com/2017/05/25/feather-chain-stitch-tutorial/.  Mine is the lilac stitches in the picture above.  I find this one to be an odd looking stitch.  I'm not sure really when this one might come in handy, but you never know.

Are you hooked yet?  Did you join in?

Wednesday 27 February 2019

NICU log cabin blocks

I finished quilting the NICU log cabin quilt a little while ago and just haven't posted about it yet.  As you may recall from a previous post, this quilt came about from four log cabin blocks given to me by another quilter cleaning up their orphan blocks.  So, half the work was already done for me.

I sewed them together with the dark half in the centre, added a total of three borders and we are done.


I decided to do freehand free motion quilting in the borders, but I am not too happy with the outcome.  Instead of looking like a fern it looks like a jumbled mess of grass....lol.  Oh, well...  Definitely going to practice some more on this motif.  That is what the NICU quilts are great for.  They are giving me the opportunity to practice and get better at free motion quilting.


Not shown here is the centre that I did some ruler work with, as I went from log to log, from corner to corner, with lines.  Like dot to dot.  If you zoom in close on the top picture you can make out the lines in the dark logs.

Now I have the five NICU quilts to hand in at the next meeting.

Tuesday 26 February 2019

Working on my Mountain Majesties quilts

On Sunday past, I ended my work-cation (a vacation where I have to work outside of my full time job), with a me day (a day that no one is to demand my time and I get to choose whatever "I" want to do).  I chose to spend the whole day on my quilt room with uninterrupted sewing time.  I cleaned up some, sorted some, cut stuff, sewed blocks, updated my list......you name it, I probably did it.

I was going through withdrawal and was desperate for some sewing time.  It did the trick, because now I am reenergized. 

One of the first things I wanted to make progress on was my mountain majesties blocks.  Instead of making a very large quilt, I have decided to make two twin sized quilts for donation.  What you see there on the design wall is half of the one quilt.  The second quilt is also half done.  For these blocks you are making two blocks at a time, and because I want to distribute the colours, I am separating the blocks between the two quilts.


It may look or feel like it is taking longer than usual to make the quilt, but once the first one is laid out, I will already have all the blocks done for the second one. That's a plus.

While I was working on the blocks above, I was using the Carolina chain blocks as my leader/enders.  I have a nice stack of those done too.  I made more than what you see in the picture.


Toward the end of the day while I am sitting down taking stock of all my accomplishments for the day, I pulled out the next orphaned block.  This orphaned block is a block from my daughter's fair and square quilt by Bonnie Hunter.  Now I need to figure out what I can do with it to make an attractive NICU quilt for donation.  Any ideas?


My initial thought is to place it on a diagonal and add corners to make it square, and maybe a pieced border......but not sure yet.  I will leave it on the design wall to brew for a bit.

I am now a happy camper....lol. I had some me time to play.  I feel that I was productive and overall it takes the sting out of using my vacation to do more work, instead of going away somewhere nice and warm.  All is good.

Sunday 24 February 2019

Joining the American Patchwork & Quilting quilt-along

Yesturday, after a 2 1/2 hour morning birthday party for my niece's son, meeting a client in the afternoon and heading to my mom's to finish up some work, later in the afternoon, I was finally glad to sit down with my feet up and a glass of wine.  Especially after a very productive week of redoing my son's bedroom and lots of running around getting this and that done.

While my mom and I where sitting down relaxing, I was telling her about the new quilt-along that has started with American Patchwork & Quilting.  They've created a Facebook group for this quilt-along, to make a quilt called Sew Many Strips designed by Tara Lynn Baisden (#APQQuiltAlong).

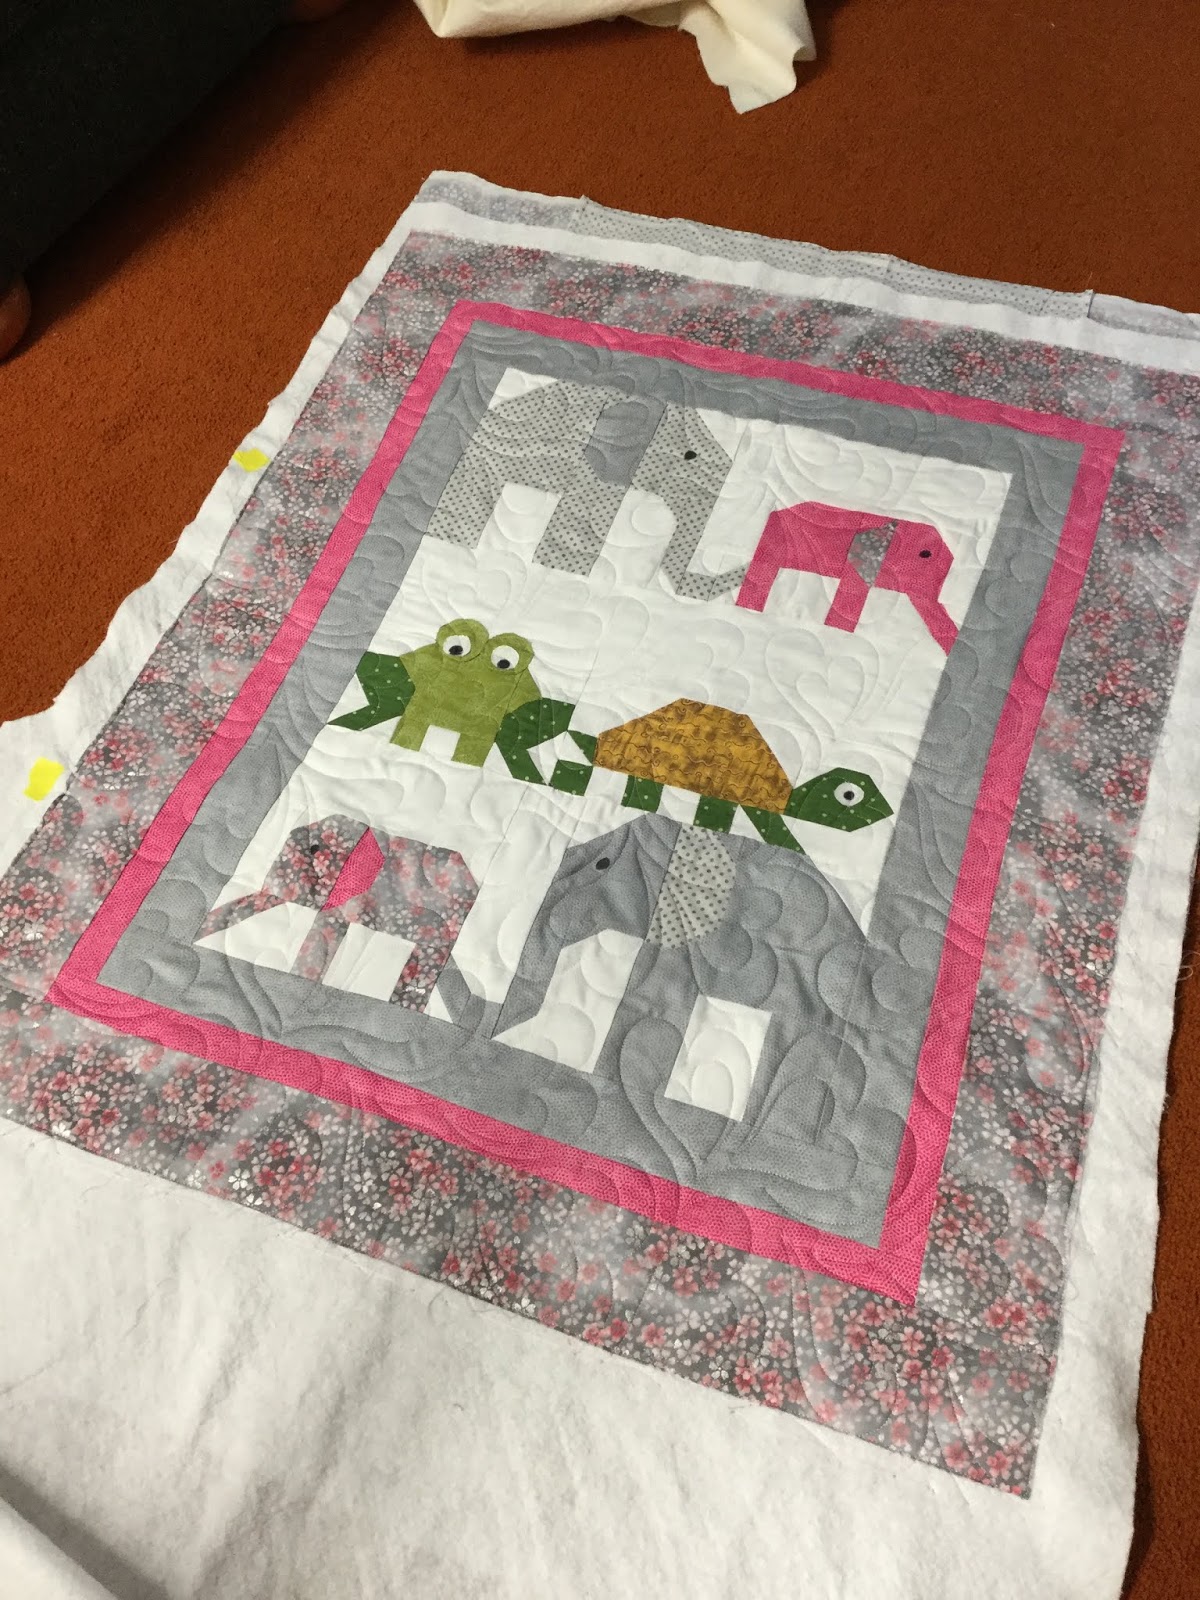
On Friday, while I was out picking up the last few things I needed for the birthday party, I bought the magazine, which featured the article about the quilt-along.  I like the quilt they are making (see picture below).  It's a rail fence variation and will use up a lot of strips.  Obviously, the idea is to use up your stash first and supplement it with a few purchased pieces if needed.


I have decided to join the quilt-along, but with alterations.  I never seem to do things like everyone else...lol.  In this case, I am using the quilt-along to make progress on using up my scraps, however instead of the measurements and sizes they use, I plan on making my own.  I don't have a problem with redesigning the pattern to suit my needs.

I do have a lot of strips in the size that they are doing this quilt, but I have a lot more stings in my scrap drawers that need to be used up.  The precut strips have a home to go to when I have a chance to make the quilt I have been thinking of, but the strings keep growing at an alarming rate, that I really, really have to get them under control.  So I thought I could alter this pattern, as my attempt at taming my scraps.

If anyone is interested, I will be making 3 1/2" square string blocks to replace the original pattern units, but otherwise the block construction and the quilt layout will be the same.  To see how it will look, today I made one block.  I like it and will continue with making my version of this pattern.  Please note that I will not be giving any of the original pattern sizes.  For that I would suggest you either purchase the magazine, as I did or purchase an electronic version online.


The quilt-along is to run from February 18th until April 22nd, however with my busy schedule, I feel mine will take me much longer.  To be reasonable, I am going to aim for a finish by the end of the year.

Hehehe....do you know what?  I think I may have a follower.....lol.  I thing I talked my mom into joining in too!  She seemed interested in it.  I left her the instructions, so we will see where that goes, but for me I will have to make a conscious effort to keep on track with this, especially once I cannot keep up with the magazine's scheduled steps.  So far I am good.  This weeks schedule is to cut strips, so I am actually ahead of the game, as my scraps are already all together waiting in my drawer.

I'll let you know of my progress as I go along.

I hope to see you and many others there on the Facebook group, joining in the fun and comradery, that comes from being in a group of like minded people all showing their own interpretation of the pattern in all the varied colourway.

Friday 22 February 2019

Alternate easy street block NICU quilt

Here is the third and last block my daughter made for her Easy Street quilt that didn't make the cut.  There were also some extra leftover black & white four patches and some flying geese, that I added around the perimeter of the quilt.  I finished it off with a green border to make it the final size.

It didn't turn out too bad.  Blue, purple and green make a nice colour combination.


I used this NICU quilt to practice some of the free motion quilt motifs from the 3-way BOM quilt for the freehand quilting style.  I figured I can get some practice in, before doing it on the real quilt.  I added some ruler work with dot-to-dot arrows, cross hatching and some curved chains and curved edges around the geese.

The green border got the twirl/curl all the way around.  The curls twirl alternately up and down.


This next picture shows just how much I was able to practice the motif.  Every flying geese got this hook with pointed shape feather.


Even though this quilt is small, I could see the difference in the motif from the first one to the last one.  They may only be slight differences, but I am getting the hang of it.  

I still feel I should get my machine looked at, as it seems to sometimes stop me from achieving a full circle, without flattening out one side.  Soon.

As for the progress on my son's room, I am done!!!  Yay!!!

Wednesday 20 February 2019

2nd NICU easy street block

I have to laugh.  Yesturday I shared with you the five NICU quilts that I finished binding, yet I just realized that I forgot to share with you the finished quilts, assembled and quilted.....lol. Can you tell it is crazy around here.  Oh, well.  Better late than never.

Here is the second block my daughter did for her Easy Street quilt.  This was the second extra block with the star.  I fixed the twisted four patches and added the borders to make the quilt the right size.


On this quilt I decided to do an all over free motion design.  Since I got my longarm I haven't taken enough time to practice the free motion stuff, so as you can tell, I am still needing to practice some more.  I have the pattern flow down pat with alternating directions and sizes, but now I need to get a handle on the spacing of the lines, to try and get them more consistent.


A cross view shows the texture of the all over design.  Looks ok from this angle.


This size quilt is just enough to get the motions going, without getting caught in a corner and not too long to get bored with it.  Practice, practice, practice!!!  

I still find it is such a large learning curve between doing it on my domestic machine versus the longarm.  Though I know I should be easier on myself, since I have been quilting on a domestic machine for over 15 years versus only two years on the longarm, and not consistently on the longarm either.  I'll have to keep reminding myself about that!

Update with my son's room.  Yesturday, I did the last coat of paint on the accent wall, fixed his closet door, painted all the baseboards and trims, plus I have one coat of paint on the closet door.  All this happened after I went to the hearing aide place to have my devices checked and cleaned, headed to The Home Depot for the trim and door paint, plus closet door tracks and the blinds.

Today,  I have to finish the doors, install the blinds, put the switch and plug plates back on, hang the shelves and wash up the floor of paint splatters.  Might as well clean the windows too, while I am at it.  If I get all this done, I will be two days ahead of schedule!  

Yay!!!  I'll be able to play in my sewing/quilting room!!!

Tuesday 19 February 2019

This and that

This past week, I took a bit of time to run through the last of the 3 1/2" triangles to make the green and blue HST sets.  These sets are for the new design of my Wild & Goosey quilt.  I just have to cut them apart and iron them.  They're going to be my alternate blocks.


During the week, as time was available I also worked on the binding of all the NICU quilts.  All five are now done.  Yay!!!


My bad!  While I was binding the NICU quilts I was watching Bonnie Hunter's QuiltCam reruns.  One of them, I think January/2016, she was doing these cute little 6" flower baskets.  I had to make it!  It's only one block......  But can I see it in a quilt...... Oh yeah!  The wheels in my head are turning....lol.  No guilt, just plain old happiness, seeing this cute block.


This is just too cute!  It was easy and fast too.  I just went onto my pre cut 2" scrap strips, for everything except the one piece (the large basket).  Again, no guilt.  I'm using my scraps.

This week is for my son.  I am on vacation and for his 16th birthday, he is getting a bedroom makeover.  Thus far, walls are all fixed, plastered and primed.  First and second coat of paint on the three walls, plus one coat on the accent wall.  I also have the closet door and bedroom door primed two coats.

Today I have to fix his closet door tracks, add trims and prime all of it, including the baseboards and finish the accent wall.  Tomorrow will be painting two coats of paint on all the doors and trims. After all this it will be install the new blinds, assemble his new bed and get the room back together.

It will be a busy week, so not sure how much sewing/quilting I'll get done.  Wish me luck that I can finish early and have at least one full day to play in my quilt room.

Saturday 16 February 2019

NICU Wild & Goosey quilt top

These last couple of days I've been sitting around doing binding.  For me, when it comes to quilting, it's the binding that I find the most tedious.  At times I enjoy sitting there hand stitching the binding on, admiring the quilt while I stitch, taking my time and relaxing.  But, other times I have to force myself to sit and do it.  I don't get that, but it is what it is.

The day before yesturday, I finished the last bit of one quilt, plus started and finished another.  Yesturday, I started and finished one more, plus have one side of the next one done too.  So now, I have three sides to do and one more quilt to finish the binding.  I'm getting there!

These quilts are all for Project Linus.  The person who collections them will be at the guild meeting this month, so I have this week left to do them.

Since binding is really not that exciting to show pictures of, I thought I would show you this NICU quilt top that I finished sometime last week.


I think it looks cute!  These blocks are only 3" finished and contain 13 pieces of fabric each.  This block is one of Bonnie Hunter's blocks that was in Quiltmaker magazine.  It's call Wild & Goosey.  I didn't change the name.  

These blocks are great for using up bits and pieces of scraps and you get precision when using the paper piece method.  I did mine controlled scrappy with the geese parts blue, the side triangles green, the tail of the geese yellow, and white/cream for the background.  

All of the pieces were from small to tiny scraps, including the sashing.  These blocks and sashings are great for using up all of your tone on tone whites/creams together.  In the overall scheme of things most people will not even notice the differences and it adds another layer of texture.

Today, I am off to change my oil, and head over to my mom's place to finish up some small renos/repairs.  We may even get a chance to visit a quilt store for some borders on a wall hanging my mom finished.  That will be nice!

Take care everyone and stay warm!

Tuesday 12 February 2019

My Scappy Mountain Majesties

Last week on Friday, I confessed that I started a new quilt.  I put it away for a couple of days to concentrate on this months quilt of the month.  I'm happy I did, because I got a lot done on my hexagon quilt.  Check it out in the previous posts of the weekend.

Before I put the pieces aside, I made a bunch more blocks.  I now have the full width of the quilt up on the design wall and started coming down on each side.  As there are two rows across, you can start to see the zig zag shape forming along the width of the quilt.  The zig zag is created by the placement of light and dark fabrics.  Once I get the next row up on the wall, you will see a dark zig zag.  


I like what I am seeing so far.  In person the colours are better.  As this picture was taken late at night, the colours are not as bright as they are in real life.

On Saturday, when I gave up on doing anymore handwork on my hexagon quilt, this was the third thing I worked on that evening.  These are all the units I will need to finish all the blocks.  Since the picture was taken, I also pressed all the half square triangle open with the seams to the dark side.


I'll start trimming these, sometime this week, and one by one, piece the blocks together, though there are a few more things I want to get done as well, so I may work on those first instead.  We'll see....depends on how I feel at the time I guess.

Monday 11 February 2019

Christmas tree skirt

I though I should share with you a customer's Christmas tree skirt, before we get too far into the year, after all it's a Christmas tree skirt, and I don't care much for Christmas in July....lol.  It was an odd shape to put on my longarm.  Not difficult, just different.


I took these two pictures to show you how different it looks depending on which points you use as the main direction.  They're both pretty, either way.  The customer needs to centre a hole in the middle with an extending line from there to the edge to form the flap where you would wrap the skirt around the trunk of the tree. I did trim this piece, but forgot to take a picture of it all prettied up.


Here is a close up of the quilting.  I used the Wintergreen pantograph for an all over design.  I felt the holly leaves and the ribbon swirls suited the fabric well.


The trip to Michael's on Sunday and request from the dinner next door

A bit of a side step from quilting.  On Sunday afternoon, when I felt like I just couldn't do any more of the hexagon quilt, I took a break and dashed over to the Michael's craft store.  I was watching YouTube all weekend while doing the hexagon quilt, so that I wouldn't get bored or distracted with other things.  I mainly watched a new to me girl who has her own business called Sugaridoo.  Her YouTube is about quilting and crafty things (mostly quilt or crochet related).

Well, while watching her and seeing all the cute stuff she does, I started getting ideas.  Not always a good thing....lol.  Anyways, one of the things I was interested in was her cute little crochet animals.  They were so cute, but I'm not sure if I want to make any.  The reason I was interested in it, was that it sparked an idea for another project, that I was trying to figure out how I was going to do it.

So armed with a renewed idea, I headed to Michael's to pick up some cotton yarn and a small pattern to remind me how to crochet curves.  I haven't done crochet in such a long time, I needed a pattern for a refresher.  While I was there, I came across this pattern book and knew I had to have it.  Inside the cover there are so many different animals that you can make.


I found the cotton yarn I wanted.  Do you see that green depression ware glass desert nappy/dish?  Well my idea was to make that into a pin cushion.  I am going to use the pattern of that frog above (the top half of the body), to make a ball, of sorts, to fit inside the dish.  The colour I chose for the pin cushion, reminds me of a cross between strawberry ice cream and orange sherbet....lol.


I know it's a silly thing, but I've wanted to make this dish into a pin cousin for some time now, and now I have everything I need to do it.


Later when I went to my niece's place for dinner, her husband asked if I could do something with the edges of the material above to finish it off.  I figure I'll do a buttonhole stitch on my machine all the way around it, once I trim the edges.  This blanket is for my great niece.

Working on stuff for the guild

Saturday, toward late afternoon, I had given up on doing any more handwork with the hexagon quilt, so I took some time to get caught up on some other smaller items.

First on the list, was the red and white blocks, for the quilts being made for Quilt of Valour.  Some of the ladies/members of the Mississauga Quilt Guild, are also a part of this group making quilts for Quilt of Valour.  Quilt of Valour is trying to make and distribute a total of 20,000 quilts to veterans across Canada by 2020.  I was told that they have achieved about 14,000 so far.  Wow!  Pretty cool how much they have done already.  I'm going to estimate that they will not only meet that goal, but also surpass it.

The ladies organized these log cabin blocks.  They have a bunch of kits ready at the guild, for people to pick up and work on.  Some will make the blocks, others will assemble them, and there are others who will quilt them and finally someone will bind them.  By breaking up the task, it is easier for them to find people to help out.  People will pick their favourite part of making a quilt and do it.


This was only my second visit back to the Mississauga Quilt Guild, from a long break, due to conflicting work schedule.  Many familiar faces and many new ones.  It was nice being back.

Second up on the list was for the Guild.  The Guild will be having a quilt show on May 8 & 9/2020.  They are starting now to work on the raffle quilt.  The raffle quilt is very pretty, with lots of half square triangles (HST).  It will be a scrappy batik quilt.  So the ladies organizing this quilt have put together kits to get the HSTs done. Each kit has two light/neutral background fabrics, so we the members were to cut three squares from our own stash to go with them.  Two were used to make the four HSTs and the last one is to be returned whole for making the actual blocks.


As you can see above, I took four kits and finished them.  The layout has nothing to do with the final quilt.  I figure once they have all the kits back, they will make up more kits with these pieces and assorted others to make the blocks for the quilt.  Later sections of the quilt and so on, until the quilt top is done.

I am glad to be a part of it.  Once it's done, there will be raffle tickets to sell and volunteering at the show itself.  There is a lot of work that goes into a quilt show, but they are well worth it.  The display of quilts is always gorgeous.

Sunday 10 February 2019

Working on my hexagon quilt some more

8:30 am - Today I have plans.  I've already taken a shower, had breakfast, gone through my emails and such.  It's time to get down to business.  After reviewing my post from a couple of days ago and the comment I made about my focus shifting to another new start. I decided that during this weekend, as I had the weekend to myself, I would do as much progress on this month's challenge quilt as I could.  So I am limiting my time on the tablet, just long enough to have my cup of tea.

9:00 am - As the day goes by, I will do different things and I will come back to sit and hand stitch some more on this quilt, after all it is this month's challenge quilt.  As I know I cannot possibly get it done in a month, my goal is to see just how much I can actually get done.  So, here is the last picture I took of the mothership.  Yesturday I also worked on some other parts, some of the diamonds, but this was it for this section, what I am calling the mothership.


10:00 am - by this time I get the piece of three diamonds attached to the mothership.  I started doing this piece yesturday, but ran out of energy to finish it.  I had only the one side of the last two and a half diamonds to attach.  While I took the picture, I noticed that I was missing a small section/piece at the top righthand side.


11:30 am - break for lunch.

1:00 pm - start on and finish the missing triangle piece for the top righthand corner.


4:00 pm - Wow!  Now that is one serious chunk added to the mothership.  The whole top floret border is on.  The top floret border also has some of the final border attached too.  


Now........I give up for today.  I've been sitting down far too long.  Yes, I have been up and down with various things, but primarily I have been sitting doing the hand stitching.

We're heading next door to my niece and her husband's place for dinner later, so that leaves me with an hour to run out quickly to Michael's to get some yarn..........but that is for another post.

Enjoy your evening everyone!

Saturday 9 February 2019

Working on my hexagon quilt

We are already one week into February and I've made slow progress on my American, Patchwork & Quilting UFO challenge quilt.  This quilt is being assembled all by hand, so by nature it is going to be slow.  Last weekend, I managed to make a diamond and enough patties to complete another diamond.

I've taken the two containers I have, with all the bits and pieces out.  I wanted to see exactly where I was with this quilt.  I have a long way to go, to get this one done, but I was pleasantly surprised at how much I already had done.  Because I have been doing pieces here and there, this part and that part, it seemed that I was getting nowhere.

So, to motivate myself and show the extent that I have done, I am going to see how many of the pieces I can put together.  I am starting off with this piece, which I will from here on out call the mothership.


This piece is part of the upper most lefthand corner, which includes the diamond grid.  Last week, I came to the conclusion, that I didn't like the way the last outer purple border.  I felt it made the scrappy border look like it was floating, on it's own, between the two purple borders.  So, this morning I took it off.


Now I am happier.  From here I attached a small section just below the mothership.  This piece was already complete with the two florets and the outer border.


Next I took the three diamonds that were already completed with the outer white sashing.  Pictures can be deceiving.  Here are three diamonds, all the same size, but because I took the picture on a slight angle, they look like they are three different sizes (big, medium and small)....lol.  I've unintentionally created an optical illusion....lol.


Anyways, I took these three diamonds and attached them to each other to create the first column.


By now, I'd just about had enough of sitting around sewing hexagons by hand.  So I will leave it at that for today.  That may be all that I get done this weekend, as tomorrow I head up to Oshawa for the longarm guild meeting.  I am happy though, as it is good progress.  It may not look like much, but time wise it is a fair amount done.  I do like watching the mothership expand, picture by picture.

Enjoy the rest of the evening!

Friday 8 February 2019

My scrappy mountain majesties

So, I have a confession....... I started another quilt.

It doesn't matter how many I have on the go, waiting to be finished, it just sort of happens.  It happens!!!  It was bound to happen some time or another.  I had a bunch of dated fat quarters, just sitting around calling out to me, telling me they *could* become a beautiful quilt, if only given half a chance.

These fat quarters, were other people's rejects, the ones that are dated, usually larger floral prints or funky designs.  The ones that don't always play nicely with other fabrics, because they want to be the star of the show.  You know the ones I am talking about, they are so colourful you just don't know which colour family to put them in.

Well, I for one love finding ways to use these fabrics.  It's not always easy, but it is fun and satisfying when they come together to make a one of a kind quilt.

Lol. All kidding aside.  I did have a collection going of approx. 35 fat quarters that didn't really belong anywhere.  When I was going though some clean up yesturday, I came across them again and decided now was a good enough time to deal with them.

I rejected some of the rejects, because they were just too pretty to make the cut for this quilt.  I pulled out my bin of neutrals and started cutting 8.5" squares, 66 of the dark fat quarters and 66 neutrals.  I shuffled them all around and matched them up to a partner.

That is what you see there, in the plastic container.  Beside the stack of squares, is the pattern that I am going to use, to make this stack into a quilt.


This is one of Bonnie Hunter's free patterns, called Scrappy Mountain Majesties.  It's a very versatile quilt pattern, that can put a good dent into your fat quarter stash.  You can make it completely scrappy or you can do it more controlled, in a specific colourway.

The trick to this pattern is having enough contrast between the darks and the lights.  The whole zigzag effect is dependent on the contrast between the two.


If you squint your eyes, you may see it a bit better, though there is only a small sample up on my design wall at the moment.  It will stand out more once I get more rows going.  Once I get more blocks done, some of these darker neutrals will be spread out.

I am really liking it so far.  I think my focus has shifted from my "this month's challenge" to working on this quilt, but oh well.....as they say shift happens!  Lol.

Enjoy your weekend, keep warm and stay out of trouble!!!

Thursday 7 February 2019

Aminals in pink

This is another customer quilt.  It's a cute little baby quilt, obviously for a girl.   We have elephants, a frog and a turtle.  Really cute!


This first picture is fresh off the machine, I didn't trim it yet, nor did I remove my row markers....lol. I just couldn't wait to take the picture.


As you can see from these two pictures, I am partial to the little baby elephants.  Must be because they are pink.  I also like the last border.  It has pink too, but it is more subtle, soft looking and not too kiddy.


The pantograph I used for this piece is Whole Lotta of Love from Urban Elementz.  It's a popular design and suitable for children, teens and adults.

Tuesday 5 February 2019

Take a Stitch Tuesday (TAST) week 4 for 2019

A short intro -- Look what I started......  I have been gearing up to do a true crazy quilt with fancy stitches, lace, ribbons, beads and all.  I've wanted to do one for many years, however didn't feel I had the skills to execute it, so........


I have taken up the TAST and Beyond TAST Challenge, which is an online group.  The event is called "Take a  Stitch Tuesday" (TAST) and can be found at https://pintangle.com/2019/01/22/tast-week-4/.   The moderator/hostess is Sharon Boggon.  Sharon is an expert needleworker and the author of her new book called Visual Guide to Crazy Quilting.

There will basically be two stitches each week, for fifty-two weeks.  One from each challenge.  The first one "TAST" is for beginners and the second one, "Beyond TAST" is for those who have some experience. Check out her site for all of the details.


The stitch for week 4 of TAST is the Stem stitch, https://pintangle.com/2012/04/10/take-a-stitch-tuesday-week-15/ , my version is the blue wavy line in the picture above.  This stitch is probably one if the most often used stitch, other than the running stitch, as it is another versatile stitch.  For the curves you need to shorten your stitch to get a smooth curve.  This is also known as the crewel stitch.


The stitch for Beyond TAST is the Portuguese stem stitch, https://pintangle.com/2013/07/09/take-a-stitch-tuesday-73-portuguese-stem-stitch/ .  Mine is the gold curvy line in the picture above.  This one is similar to the stem stitch, however it is thicker, when using the same thickness of thread.  This is also known as the Portuguese knotted stem stitch.  
I think on this one, it wasn't until I reached the second hump, before I started getting a hang of it.

Of the two stitches that I learned today, my preference is the first one, as I prefer the more dainty look to it,  but I am sure there are times where the second one would be better suited, for a particular area or situation.


So......we've come to the end of week four and I have one side of my small sample sheet done.  I can't believe how many stitches I've learned and how different each stitch can be.  Even when doing the same stitch, but in a different configuration or with the addition of beads.

This is great!  I am enjoying this.  It is taking me longer than I anticipated to learn them, stitch them and post about them, but that's ok.  I still want to do them.

Are you hooked yet?  Did you join in?

3D Christmas tree wall hanging

This is a customer quilt and I think it turned out cute.  I do believe my customer liked it too.  This is a 3D wall hanging, trimmed and just awaiting the binding, which the customer will take care of.  The 3D parts are the prairie point tree branches and the pleated star.


Though it isn't very big, it still took quite a while to do.  I quilted it to death and while quilting it, I had to move, shift, lift, lower every single prairie point a few times each.  The quilting goes underneath each branch to tack down the background, which helps the prairie points lift a bit, creating the 3D look.


As I worked my way down the rows, each of them needed to be lifted or put down, depending on whether I was quilting or ditching, and again when I had to quilt the cream background that diapers under the edges of the prairie points.  It was a lot of work, but I do like the affect as a whole.


With all the focus on the tree prairie points, I felt I needed to do something to bring out the star.  So, after I finished the background quilting, I switched out the thread for a flashy mango yellow glide thread and quilted in the shining raise of the star.  I think it helped that I quilted the raise right out into the border.  The yellow thread stands out a bit more in person, than what you see in the picture.


Here is a picture of the quilting for the background.  Tight swirls.  Like I said earlier, a lot of work went onto this one, but it was fun!